Tag: Soap making

  • Is Goat Milk Soap Hard to Make?

    Goat milk soap has gained immense popularity in recent years, thanks to its numerous skincare benefits. It’s known for being gentle on the skin, moisturizing, and packed with essential nutrients. Many people are turning to handmade goat milk soap as a natural alternative to commercially produced soaps, which often contain harsh chemicals. But is making handmade goat milk soap a difficult task? In this blog post, we’ll explore the process of making this nourishing soap and whether it’s as challenging as it may seem.

    The Ingredients

    Before diving into the soap-making process, let’s take a look at the key ingredients involved:

    1. Goat Milk: The star ingredient, goat milk, provides natural fats, vitamins, and minerals that nourish and hydrate the skin.
    2. Lye (Sodium Hydroxide): Lye is a crucial component for saponification, the chemical reaction that turns fats and oils into soap. It’s essential to handle lye with care, as it’s a caustic substance.
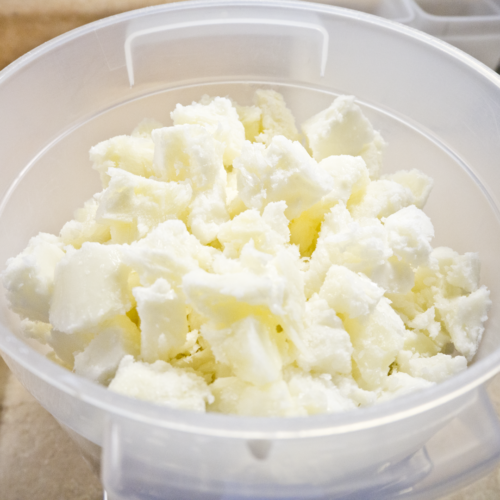
    3. Oils and Fats: Various oils and fats, such as coconut oil, olive oil, and shea butter, are used to create a balanced soap formula. Each oil contributes different qualities to the soap, such as lather and moisturization.
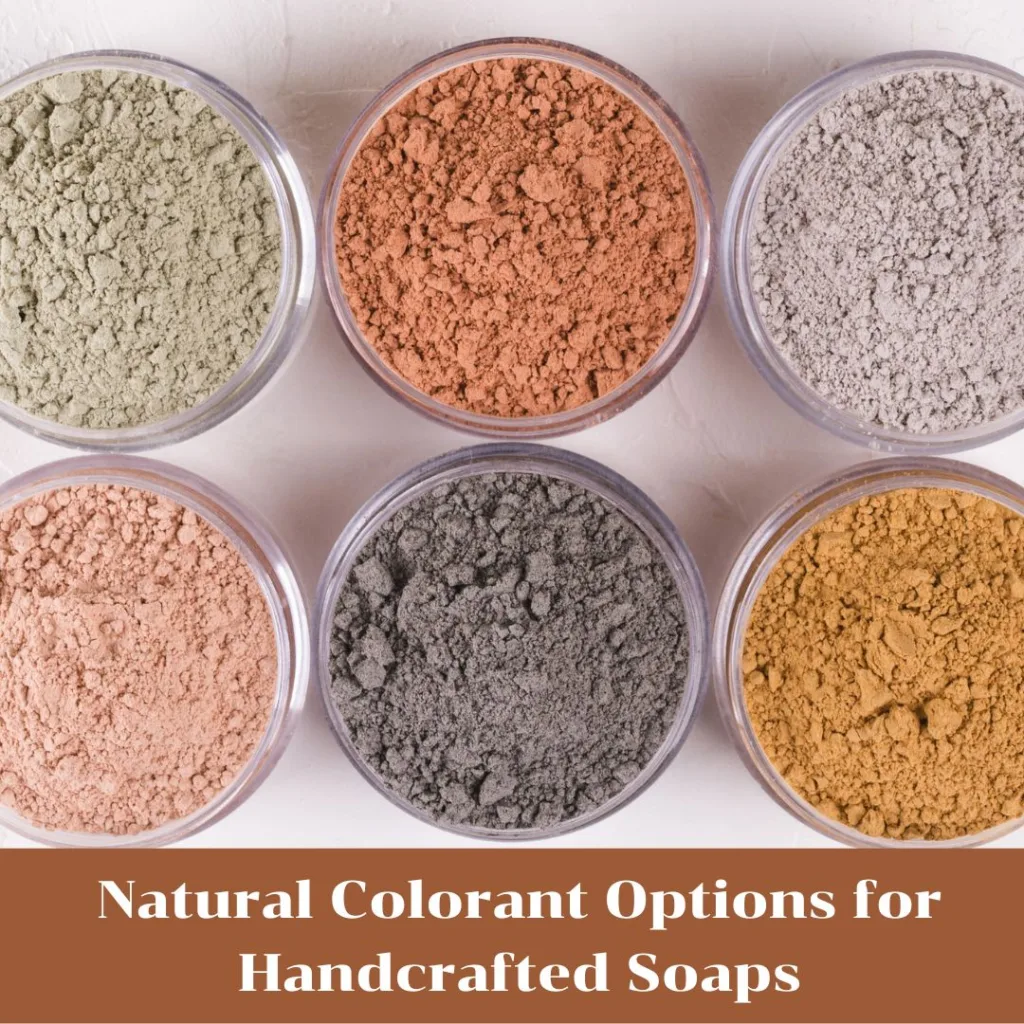
    4. Fragrances and Additives: You can add essential oils, herbs, clays, or other natural ingredients for scent and additional skincare benefits.

    The Process

    Making goat milk soap involves several steps, but with careful planning and attention to detail, it can be a rewarding and enjoyable experience. Here’s a simplified overview of the process:

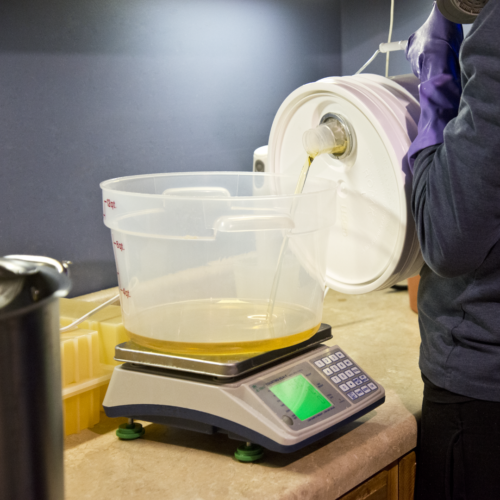
    1. Safety Precautions: Begin by wearing safety gear, including gloves and protective eyewear. Ensure that your workspace is well-ventilated.
    2. Measure Ingredients: Weigh the goat milk and carefully mix it with the lye in a well-ventilated area. This step requires caution, as the mixture can release fumes. The goat milk will need to be frozen, since the lye could heat the milk up to a temperature that could potentially scald the milk and give it an unpleasing color and oder. Be sure to use a lye calculator to find the appropriate amount of lye to use in your recipe. If too much is used it could mean leftover lye will be in the final product and the bar will not be safe to use.
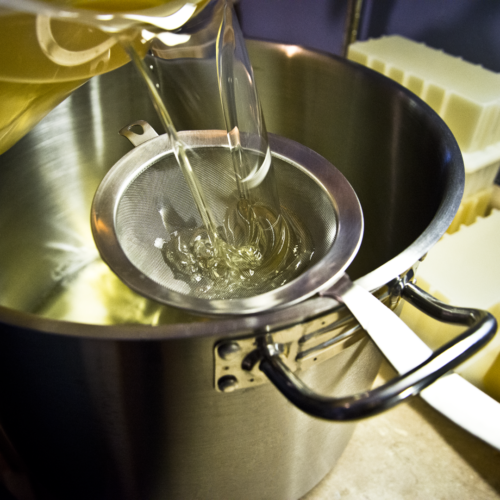
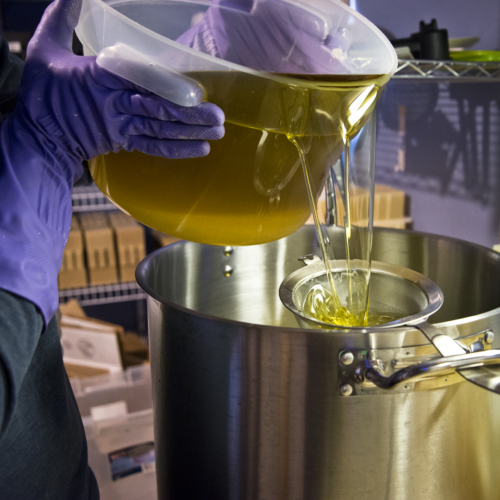
    3. Melt Oils: Melt your chosen oils and fats together in a heat-safe container.
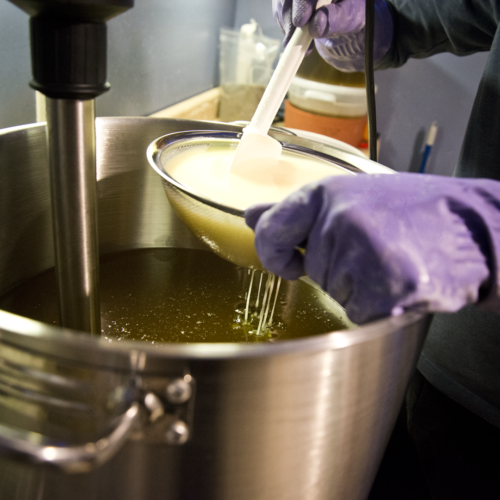
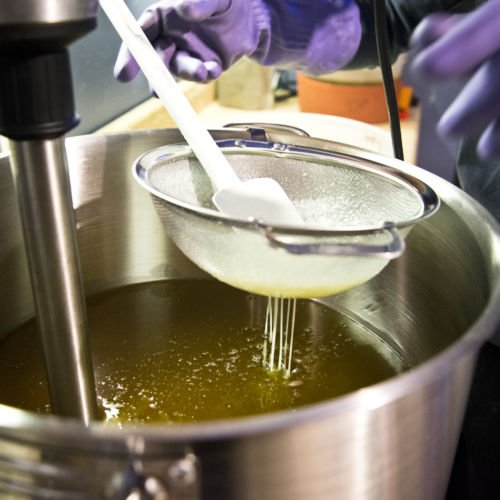
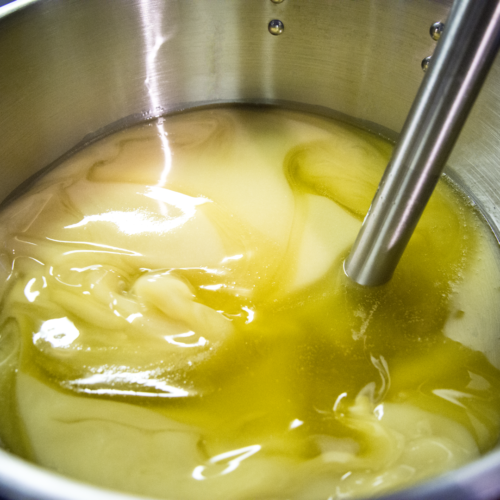
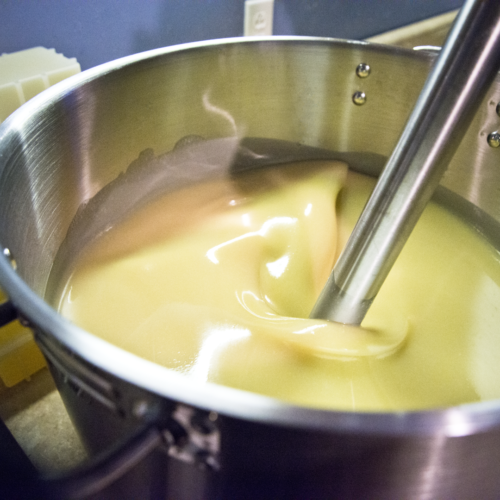
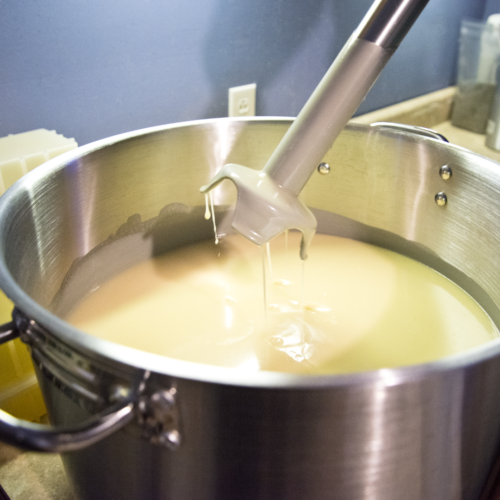
    4. Combine Ingredients: Combine the milk-lye mixture and melted oils and mix thoroughly until they reach a trace, which is a thick, pudding-like consistency.
    5. Add Additives: Incorporate essential oils or other additives for fragrance and other benefits.
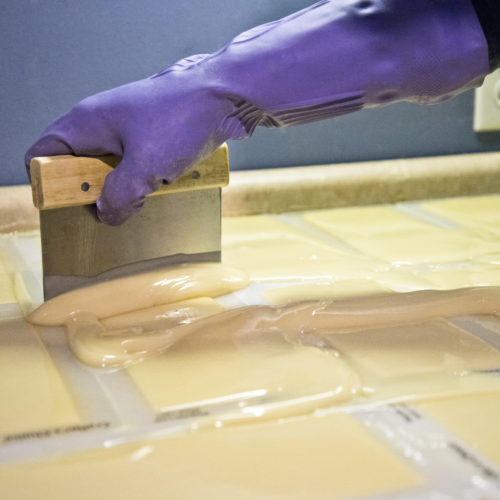
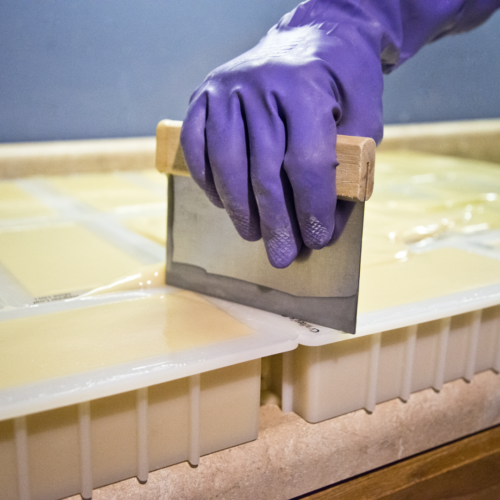
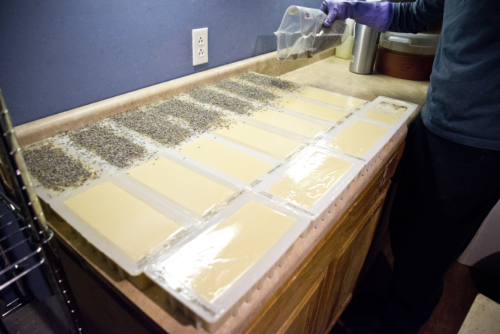
    6. Mold and Cure: Pour the soap mixture into molds. Most soaps will be ready to un-mold in 24 hours. If you made your soaps in loaf molds you can cut them into bars at the time of un-molding. Goat milk soaps and soaps with high olive oil contents will need to be cured for at least 6 weeks, if not longer. During this time excess moisture will leave the soap and the bar hardens. A bar that is cured longer will last longer during use.

    Is It Hard to Make Handmade Goat Milk Soap?

    The difficulty of making handmade goat milk soap largely depends on your experience level and comfort with handling lye. While the process involves multiple steps and careful measurements, it can be manageable for beginners with some practice and knowledge.

    Here are some factors to consider:

    1. Safety: Working with lye requires strict safety measures. Ensure you follow safety guidelines meticulously to protect yourself from accidents.
    2. Learning Curve: Like any craft, soap making takes time to perfect. Your first few batches may not turn out as expected, but learning from your mistakes is part of the process.
    3. Ingredients: Quality ingredients make a significant difference in the outcome. Investing in high-quality oils, fats, and goat milk will lead to a better final product.
    4. Creativity: The fun part of soap making is experimenting with scents, colors, and additives. Embrace your creative side to make unique soap blends.

    We have found the the book Scientific Soapmaking to be incredibly useful during our soap making journey. If you are serious about your soap making this book is a must.

    Making handmade goat milk soap can be a fulfilling and enjoyable hobby or even a small business venture. While it may seem daunting at first, with practice and adherence to safety precautions, it becomes a skill that you can master. The end result is a nourishing, all-natural soap that is gentle on your skin, making the effort well worth it. So, roll up your sleeves, gather your ingredients, and embark on your handmade soap-making journey today!

  • Natural Colorant Options for Handcrafted Soaps

    Colorful and beautifully crafted soaps not only enhance your bathing experience but also make for thoughtful and attractive gifts. While synthetic dyes and pigments have been traditionally used to color soaps, many people are now turning to natural colorants for their soap-making projects. Natural colorants not only provide vibrant hues but also offer a chemical-free, eco-friendly alternative.

    1. Clays

    Clays are excellent natural colorants for soap-making. They come in various colors, each offering unique properties for your skin. Some popular choices include:

    • Kaolin Clay (White): Known for its gentle cleansing properties, it adds a soft and creamy white color to your soap.
    • French Green Clay: This green clay gives your soap a lovely earthy hue.
    • Rhassoul Clay: This reddish-brown clay adds a warm and rustic color to your soap.
    1. Herbs and Botanicals

    Dried herbs and botanicals not only provide color but also add texture and exfoliation to your soap. Here are some popular options:

    • Calendula: These bright yellow petals infuse a sunny and vibrant hue into your soap, along with skin-soothing properties.
    • Lavender Buds: Lavender buds add a lovely purple tint to your soap and provide a relaxing, floral scent.
    • Annatto Seeds: Annatto seeds offer a natural orange color, perfect for adding warmth to your soap creations.
    1. Spices and Powders

    Common kitchen ingredients can also be used to color your soap naturally:

    • Turmeric: This golden spice lends a beautiful yellow color to your soap. Be mindful of its strong staining potential. This lovely spice powder, along with it’s essential oil, can be found in our Turmeric Goat Milk Soap
    • Cocoa Powder: Unsweetened cocoa powder adds a rich, brown color and a delightful chocolate scent.
    • Spirulina Powder: Known for its vibrant green hue, spirulina powder offers a natural and healthy way to color your soap. This beautiful powder can be found in our Deep Sea Goat Milk Soap
    1. Fruit and Vegetable Purees

    Fresh fruit and vegetable purees not only provide color but also contribute to the soap’s fragrance and texture:

    • Pumpkin Puree: Adds a warm orange color and a subtle pumpkin aroma to your soap.
    • Beetroot Puree: Creates a vibrant pink or red color and offers skin-loving properties.
    • Carrot Puree: Imparts a soft orange hue and contributes to a creamy lather.
    1. Natural Oils

    Certain infused oils can also be used for coloring:

    • Alkanet Root-Infused Oil: Alkanet root-infused oil results in shades of purple or blue, depending on the pH level of your soap.
    • Chamomile-Infused Oil: Chamomile-infused oil provides a gentle, pale yellow color and a calming fragrance.

    Experimenting with natural colorants in your soap-making endeavors can be both fun and rewarding. Not only do these colorants add aesthetic appeal to your soaps, but they also often come with added skin benefits. Whether you’re looking to create vibrant, eye-catching designs or subtle, earthy tones, natural colorants offer a wide range of options to explore. So, gather your ingredients, embrace your creativity, and start crafting beautiful, natural-colored soaps today. Your skin—and the environment—will thank you!

  • Soap Making in Photos

    We wanted to give customers a little sneak peek into our soap making process though photos. I hope you enjoy.

    Making Soap with The Freckled Farm Soap Company

    First we measure out all of the solid oils. These oils need to be melted, so they are added to a container that is wrapped in a warming device. The warmer melts the solid oils over several hours. We normally measure out the solid oils the night before and turn on the warmers at 5am when we are beginning farm chores, that way the oils are melted when we come out to make soap after farm chores are done and we have eaten breakfast. Once the oils are melted we move them into the large stock pot that the soap is made in. We run the oils through a filter to catch anything that might fall into the soap.

    Filtering oils for soap making

    We freeze our milk in a solid block. It takes less time to set up and takes up less space in the freezer. Once frozen we use an icepick to break up the milk into smaller chunks that are easier to measure and to mix the lye into. We return the measured milk to the freezer until we are ready for it later in the process.

    Frozen Goat Milk for soap making

    Next, the oils in liquid form are measured out:

    Pouring Oils - Goat Milk Soap Making

    Pouring Oils for Goat Milk Soap Making

    They too are run through the filter as they are added to the other melted oils:

    Pouring oils for goat milk soap making

    Once all the oils are measured and added to the stock pot we start preparing the milk/lye mixture. Because the milk is frozen when the lye is added the temperature never rises above 76-80 degrees and the milk maintains it’s light color. If lye is added to room temperature milk the milk will turn brown and potentially take on a burnt scent. When the milk and lye are well mixed they are added to the oil. It too is run through the filter (a larger one) but this time it is to break up and catch any fat clumps that may have formed.

    Adding Milk to Goat Milk Soap

    We push the remaining milk through the strainer to break up the fat clumps.

    Straining Milk in goat milk soap making

    Straining Milk for Goat Milk Soap Making

    We then mix everything together with an industrial sized stick blender.

    Oils Mixing in Soap Making

    Oils Mixing in Soap Making

    Once the oils reach the light trace stage the essential oils are added

    Light Trace in Soap Making

    The mixture is then poured into the molds.

    Pouring soap into molds

    We then scrap off the excess on top of the molds to fill the remaining molds and to smooth the top of the soap.

    Smoothing Soap

    This particular batch is the topped version of our Lavender Goat Milk Soap. We add the lavender buds last.

    Lavender Goat Milk Soap

    Finally, the soap sits for at least 24 hours while it firms up. It is cut and placed on the curing racks, where it will stay for 4-6 weeks while it cures.